
If you are crafty and looking for ways how to make homemade stickers, you have come to the right place. There are many different reasons why you might want to make homemade stickers.
Maybe you are an avid sticker collector or perhaps you are looking for ways how to make your own stickers at home to sell for money as a side hustle.
Whatever your reasons, there are many different ways how to make homemade stickers and a lot of different methods for DIY stickers.
It’s a great family activity to do together especially if you are stuck in the house for a while. A lot of these methods for how to make homemade stickers involve supplies that you already have in your house.
Below I’m going to share with you all of the different ways how to make stickers at home with different types of materials.
(oh and if you are looking for FREE Stickers, be sure to check out our companies that mail free stickers list with over 460+ stickers from companies and brands!)
How to Make Homemade Stickers: How to Make Stickers with Wax Paper
Making homemade stickers with wax paper and tape is one of the easiest and best ways of how to make a sticker.
There are some supplies that you will need in order to create custom stickers. Most of these supplies are probably laying around your house but are necessary for how to make homemade stickers.
Below are some household supplies that you will need for making your own stickers.
- Drawing Paper: If you are planning on drawing out a design for your sticker, you will need some type of paper to draw on.
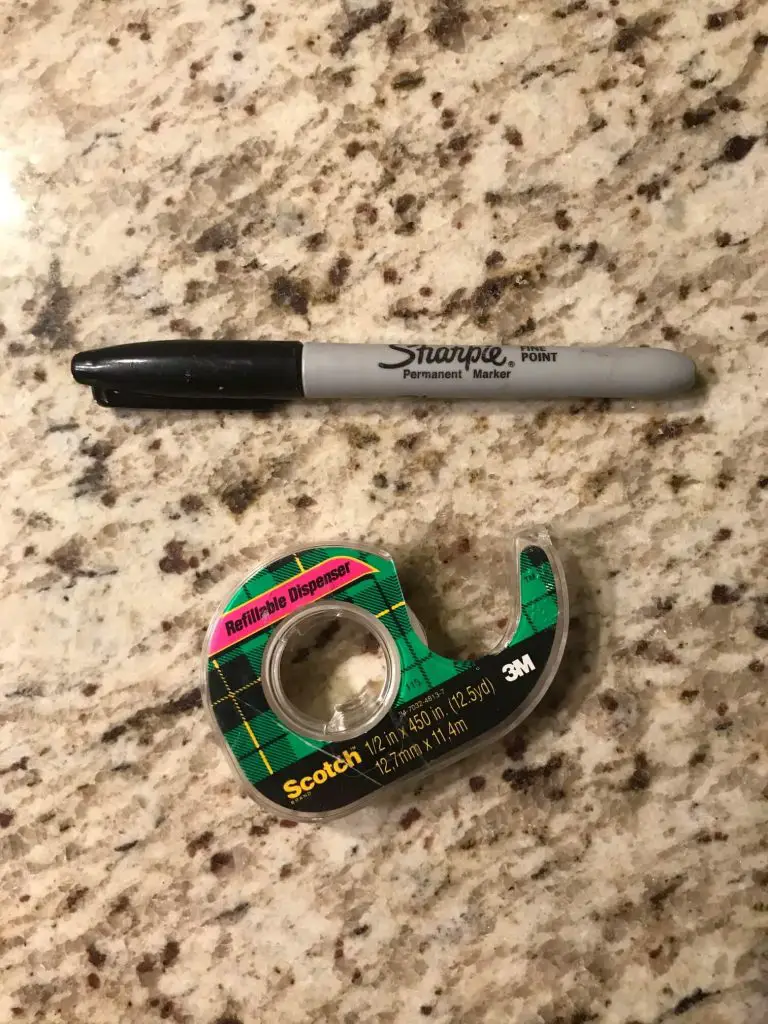
- Pencils & Pens: Use items such as markers, colored pencils, pens, pencils, crayons, colored pens, and felt tip markers for your design.
- Tape: You will need some tape as part of the construction. For this you could either use shipping tape, clear packing tape, or clear sticker labels if you want all of your stickers to be the same size. Scotch tape is an option, however I would highly recommend a commercial packaging tape such as a shipping tape.
- Wax Paper: Having some type of wax paper or parchment paper is key when making stickers custom.
Steps for How to Make Your Own Stickers with Wax Paper
Now comes the fun part of how to get your sticker design to an actual sticker. How to make homemade stickers can be so much fun to do with your kids. Kids have such a great imagination for things such as designs.
Step 1: Create and design your sticker
This is where you can let your imagination run wild when it comes to making a sticker and customizing.
In this step, you should do a lot of planning with regards to what your sticker will look like.
Planning is a key element for how to make homemade stickers.
If you are planning on drawing a sticker, you can use some of the above writing utensils such as markers or pens perhaps colored pencils to draw and create your sticker design.
If you’re looking to be more elaborate in regards to custom stickers, there are other tools you can use as well for designing your sticker.
I have found one of the best ways for me to design stickers is by cutting out interesting things I find in magazines.
Whether or not it is a photography magazine or a graphics magazine, sometimes there are very beautiful pictures and design templates that make great stickers.
The options really are limitless.
Say for example you would like to use interesting quotes or sayings that you find in a magazine along with other images or designs.
You could make a sticker large enough to cover and include all of these different items.
Looking in newspapers is also a great way to find quotes to include in your design. Be sure to check out where to get free newspapers for a list of potential places to get free newspapers.
You could also draw something and then find quotes. Place the quotes above, below, or next to the image you draw.
There are a lot of elements that can be encompassed when it comes to the design and drawing of your sticker and DIY sticker layouts.
Including fun elements within your DIY sticker layout is the best part of learning how to make homemade stickers.
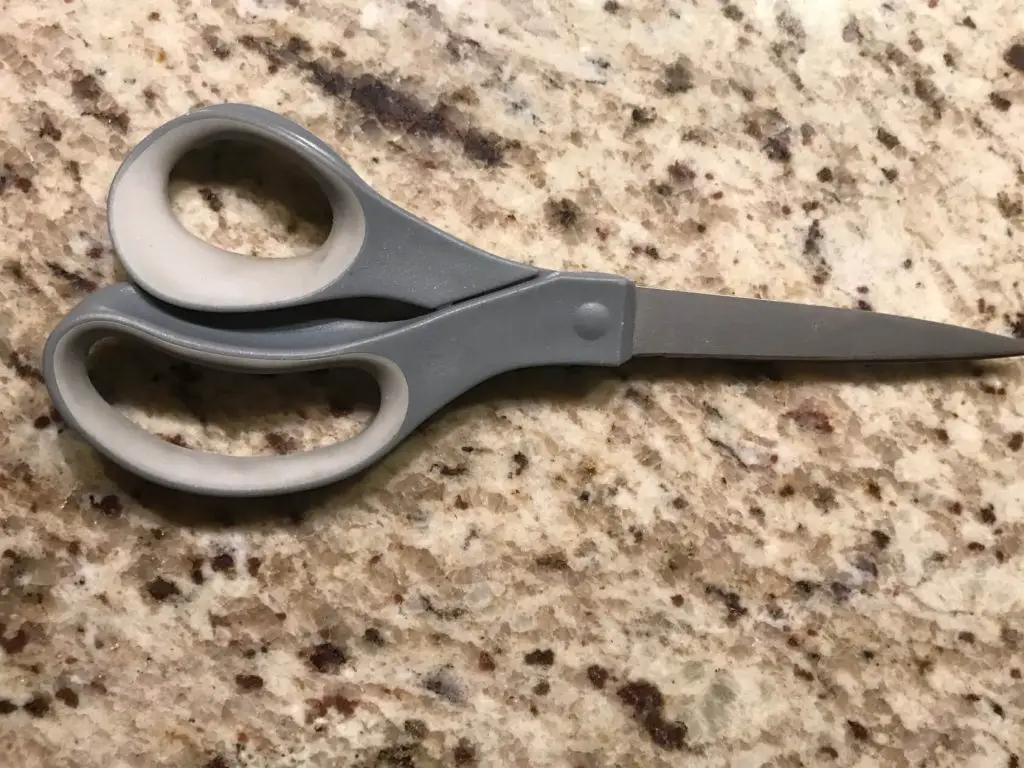
Step 2: Cut out materials and sticker drawing
This step involves taking a sharp pair of scissors and cutting out all of the different elements that will be part of your sticker design.
This would include cutting out any type of graphics or quotes that you find.
If you are planning to incorporate any drawings you did as part of your sticker, you would cut that out as well.
One thing that you need to be aware of is whether or not you would like to have a border around your sticker.
If adding several elements to one sticker such as magazine or newspaper quotes or graphics, you’ll have to plan out what your design will look like.
If you want there to be a solid white background, then you should leave more white paper around the drawing portion of the sticker you created.
Step 3: Constructing your stickers using wax paper
The next step is to physically assemble the sticker as one product.
Now you might be using just your drawing that you created or one element ONLY for your sticker and that is fine.
If that is the case, the process won’t be that complicated.
However if you’re using multiple elements for the creation of your sticker customization, there’s a little bit of layout and planning involved.
I’ve created a graphic below so you can see the process and different layers necessary for making your homemade sticker.
Proper layout is essential for how to make homemade stickers.
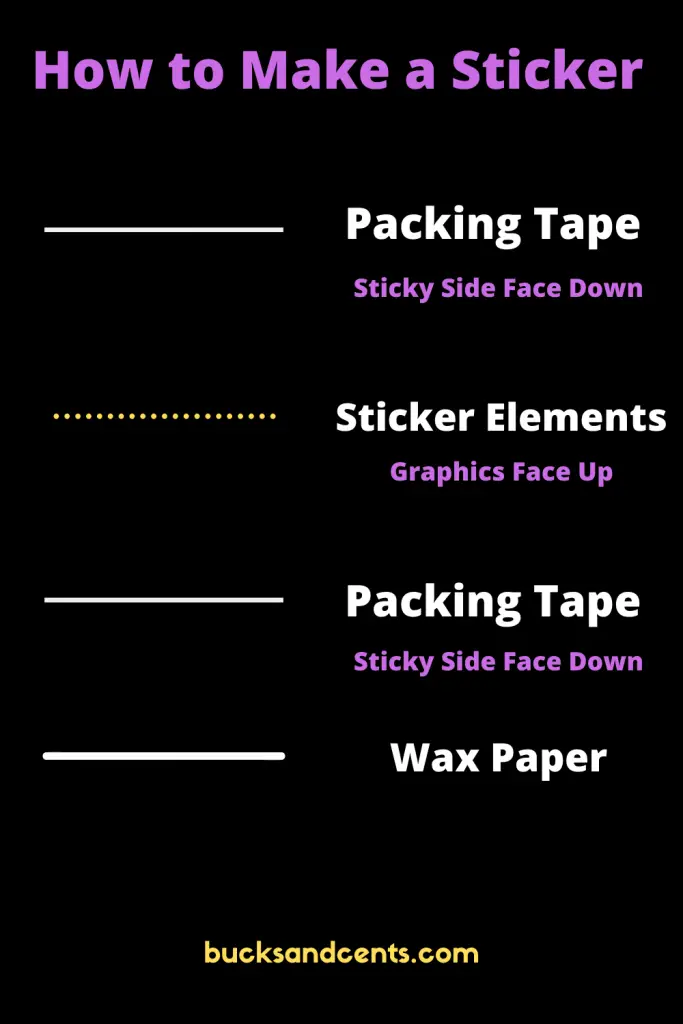
First cut and lay your piece of wax paper down.
Make sure that you cut a big enough piece of wax paper so that all of your sticker elements can fit onto it without overlapping.
The next step is to use your packaging tape (also known as shipping tape) and place that on the wax paper with the sticky side down.
After you’ve completed that step, the next thing to do is create your sticker layout and design.
Be sure to lay down all of the elements that will make up your sticker. This would include graphics, your drawing if you created one, and other elements that you have created.
This part is very important regarding your sticker design elements.
Make sure that your sticker elements are facing up. If you end up putting them face down, you’re not going to be able to see them when your sticker is done so it’s vital they are facing the correct way.
The final step in the stage would be to lay your packing tape sticky side down on top of the stickers. Make sure that the packaging tape is covering all elements of your sticker design. Once you lay the packaging tape over your sticker design, you won’t be able to remove it.
You only get a one-time shot at it. If you try to remove the tape, it will rip the elements of your sticker.
Once you have secured the top layer of packaging tape down, you can now trim the overall outline of your sticker.
You want to be sure that there are no jagged edges and that the outline of your custom sticker is smooth.
Step 4: Removing the wax paper from your sticker
The next step is to remove the wax paper. Once you do this, you’ll be able to stick the sticker to anywhere or anything you want.
(Be sure to check out our post on where to put stickers for 100’s of ideas!)
This is the process that many people use for how to make a homemade stickers with wax paper and packing tape.
How to Make Homemade Stickers: How to Make Stickers Without Wax Paper
Above we covered how to make homemade stickers with wax paper and tape.
No we are going to go through the process of how to make homemade stickers without wax paper. This process is very similar as what was mentioned above.
Create your customized sticker design
Just as mentioned above, you can create your sticker design using drawings and other elements from magazines, newspapers, and other periodicals.
You want to make sure that you cut out all of those items that you want to use for your homemade sticker design.
The next step involves using shipping tape (or clear packaging tape) same as above when making a sticker with wax paper.
However this time instead of placing the sticky part facedown, you’ll be placing it face up for the bottom portion of your sticker.
Next place your sticker elements very carefully onto the sticky side of the packaging tape. Try to be as certain as possible to the placement of those elements. Once they are on the tape it will be near impossible to remove them without damage to the sticker.
Finally take a second piece of shipping tape and place the sticky side on top of your sticker design elements. Make sure that the tape covers all areas of the sticker.
Be sure to trim the outline of the packing tape so there are no jagged edges to the sticker.
Finally, use either tape or adhesive putty to stick your new homemade sticker to walls, laptops, water bottles, or wherever!
How to Make Homemade Stickers: How to Make Stickers with Cricut
If you are looking how to make vinyl stickers, I am happy to share with you that there is a way to do that. If you practice frugal living, making stickers with Cricut is a very cost-effective way to create beautiful sticker designs. Yo can also print stickers at home with a Cricut machine.
Making vinyl stickers definitely gives your stickers and more professional and polished look.
You can use the stickers for promoting a company or brand, or you can make stickers to sell.
There are so many things to put your cricut stickers on. You can make your own planner stickers with cricket as one example.
Planners are highly popular and people are always looking to customize them with stickers.
How to Make Homemade Stickers with Cricut Supply List
There are a couple things you will need in order to make homemade stickers with your cricut machine.
The first thing you will need is some printable sticker paper or some type of clear sticker labels.
This is sometimes also referred to as transfer paper.
The steps below are designed to be a quick reference guide for how to make homemade stickers with your cricut machine.
Step One: Cricut image design
If you don’t have a sticker design, you’ll have to create one. There are a lot of programs out there where you can make custom stickers. Sticker design is the best part of how to make homemade stickers.
Some of those programs include Adobe, Gimp, Microsoft 3D, MS Paint, and Procreate.
Step Two: Prepping the image for Cricut
Make sure that your sticker design has an outline around the entire image. This is important because if your sticker design has things such as a quotation with white space in the background, the cricut machine will need to know how to cut your sticker on the sticker label, transfer paper, or printable sticker paper.
That’s why some type of outline around the whole sticker design is essential.
I would recommend an outline either light gray or black so the cricut machine is able to cut out your sticker in its entirety.
These outlines seem to be popular for the process of how to make homemade stickers.
One benefit with using the light gray is that it may not show up when the cricut machine cuts the sticker.
Step Three: Importing image into Cricut
Once your design is complete, save your file as a PNG or JPEG. You need to upload this file into cricut software.
At this point, most of this work for the image is done in the cricut design space.
Select —> create a new project once you login to your account.
Next you want to upload your sticker design.
When you are uploading your image be sure to select—-> complex.
This is important especially if your sticker design has a lot of different design elements. You want to make sure it will capture as much of the detail as possible and all of the colors that are present in your sticker design.
Select—-> continue.
If there are particular areas of your sticker design that you don’t want printed, you can click on the wand in the top right hand corner.
Then click on any area and it will become replaced with a checkered pattern. That area will not be printed.
Select—-> continue.
Step Four: Modifying your design with Cricut
Now you have two options as far as next steps with your sticker design.
Select the option on the left stating —-> save as a print and cut image.
Be sure to name your image and select —-> save.
Step Five: Importing images into Cricut design space
Finally select—-> import image so your images can be transferred into design space.
Step Six: Customizing images in Cricut design space
Design is key for how to make homemade stickers. After your design is imported into cricut design space, you have a lot of options. You can customize the size of your sticker design, making it larger or smaller, and you can also rotate the image.
Maybe you want your sticker to be rotated 25°. That can be accomplished with cricut design space.
After you’ve made all the sticker customizations, select—–> make it button. This is located in the upper right hand corner.
Step Seven: Printing your sticker design with Cricut
You are now ready to print your homemade sticker design.
Be sure to load your transfer paper, sticker labels, or sticker printer paper into the printer. Make sure you turn off the bleed function.
Step Eight: Cutting your design with Cricut
Now your cricut machine is ready to cut out your customized stickers.
Under materials select —-> paper and —-> continue.
Match up your clear sticker labels or transfer paper on the cricut mat just like the image that is shown to you in the design space.
Select —> continue.
Your cricut machine will now begin the operation of cutting out your sticker.
That is how to make a homemade sticker with cricut!
Related Article: 2 Ways How To Get Free Zumiez Stickers – [Snowboard & Skateboard]
DIY Stickers and How to Make Homemade Stickers FAQ’s
Below are a few tips for how to make homemade stickers that will really take your homemade DIY stickers to the next level.
How to Make Stickers Waterproof
You may be thinking about saving money and putting your own stickers on water bottles, but worried that your stickers might get ruined by colors bleeding due to the moisture.
Well there is a solution to that by making your stickers waterproof!
The best part about making stickers waterproof is that you can use the method to make stickers waterproof on any of the above methods.
When planning out how to make homemade stickers, be sure to factor in if you want them waterproof.
Whether or not you are making stickers with tape, or making your own homemade stickers with parchment paper, or even using clear sticker labels, there are ways to make them waterproof.
One way to make them waterproof is by using waterproof markers and drawing utensils.
If you are making your own stickers with a cricut machine, you can make them waterproof by using specialized ink. Many inks are sold nowadays for printers that are waterproof.
These waterproof inks can be used to print on many different types of sticker tape.
Related Article: How to Get Free Address Labels [Templates Too!]
Other Places to Make Your Own Stickers
There are other websites that offer the templates for how to make homemade stickers. Some websites will actually produce the stickers if you find yourself overwhelmed making your own stickers from home.
Check out the website Sticker You which allows users to design and build their own stickers.
If your looking for professional and very polished stickers, check out Vista Print which can also assist in the design and production of your stickers.
I would recommend this especially if you are looking for mass production of stickers.
How to Make Stickers at Home: Wrap Up
As you can see from above, there are several different methods how to make homemade stickers.
By using one of these methods below on how to make homemade stickers, you can make a simple sticker, or even make professional vinyl stickers as well with the use of a cricut machine.
Following how to make homemade stickers with wax paper can be a great method for just making stickers to use around your house.
Or you can follow the steps above for how to make homemade stickers with cricut and you can turn your sticker passion into a great side hustle as well.
Whatever you decide, learning how to make stickers at home on your own is a great activity for people of all ages.